Getting started with trackers
Use trackers to recognize phrases and their meaning in conversations.
To generate conversation intelligence, trackers require a number of API operations working together. The quickest way to get up to speed is by using Trackers in the API Explorer on the platform.
Log in or sign up
If you don't already have an account, you can sign up and get started for free.
-
Start at the Symbl.ai Platform and log in or click Sign Up to get started.
-
Make sure you can see your App ID and App Secret.
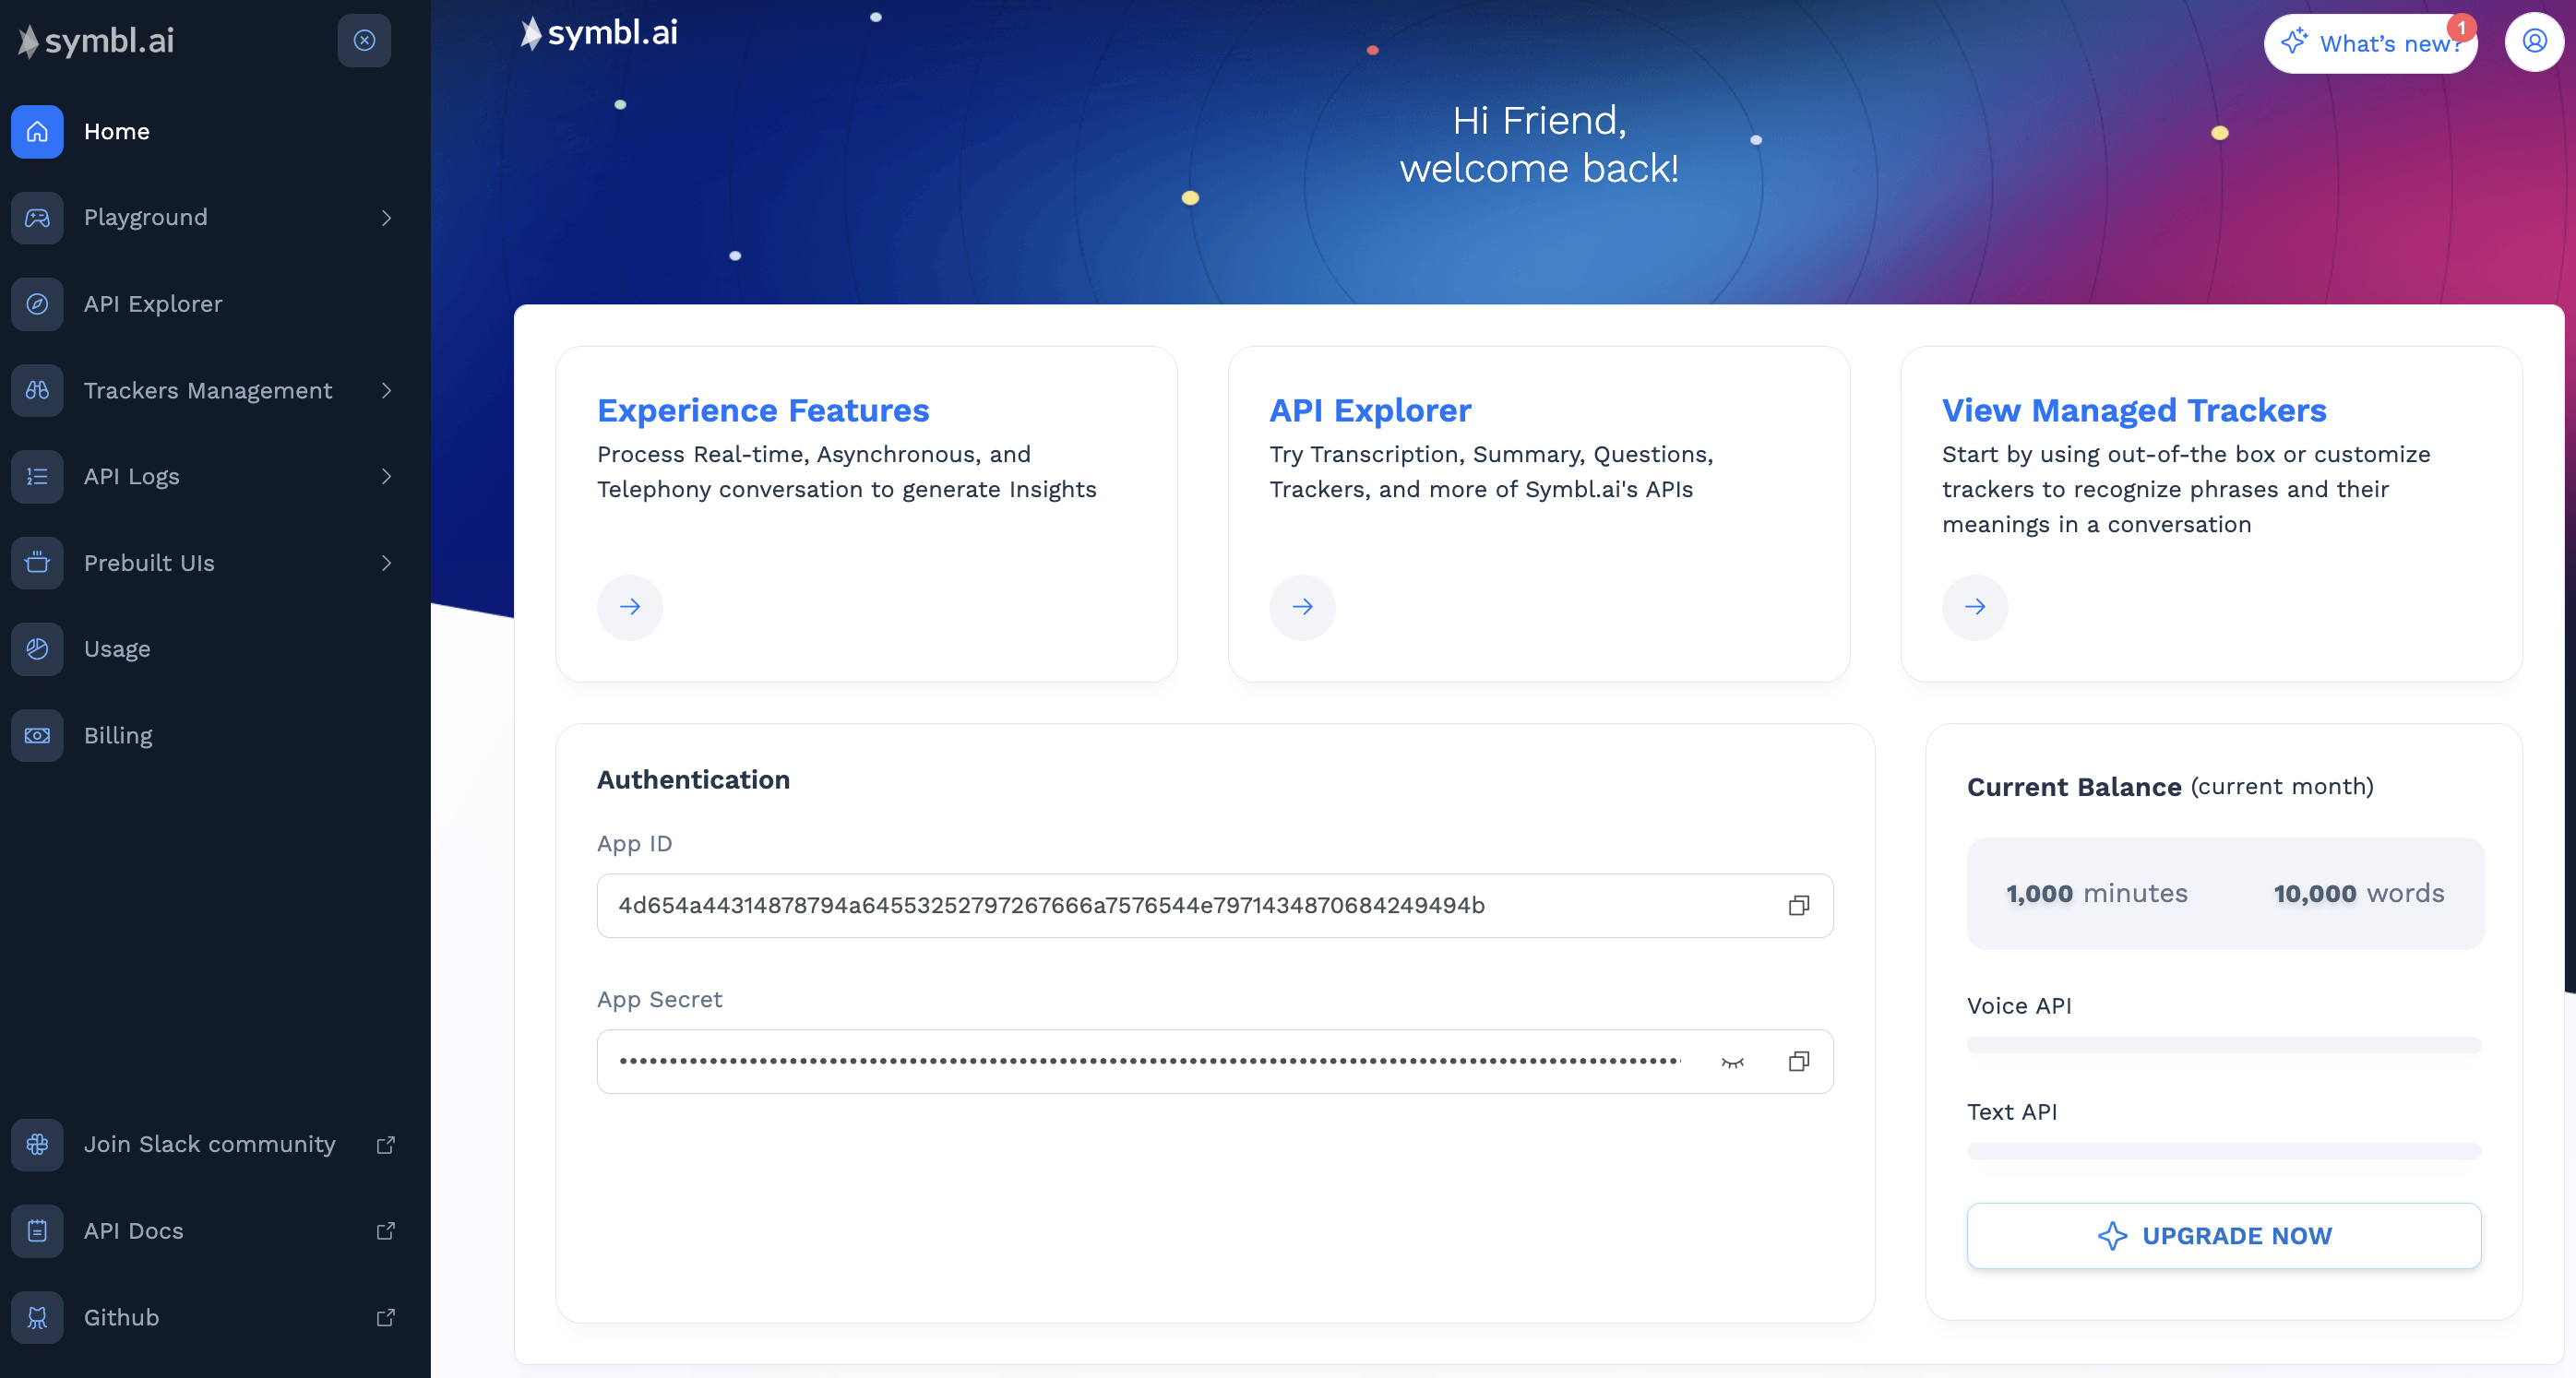
Platform Home with App ID and App Secret
This is how you identify your account at Symbl.ai. You need both codes to generate an authorization token to use APIs. You do not need to save these codes, they are always available when you sign in to the platform.
While you are on the Symbl.ai Platform, these codes are pre-populated for you as needed.
View your trackers
Symbl.ai adds some Managed Trackers to Your Trackers when you create an account.
- To see these Managed Trackers in your account, click Trackers Management > Your Trackers.
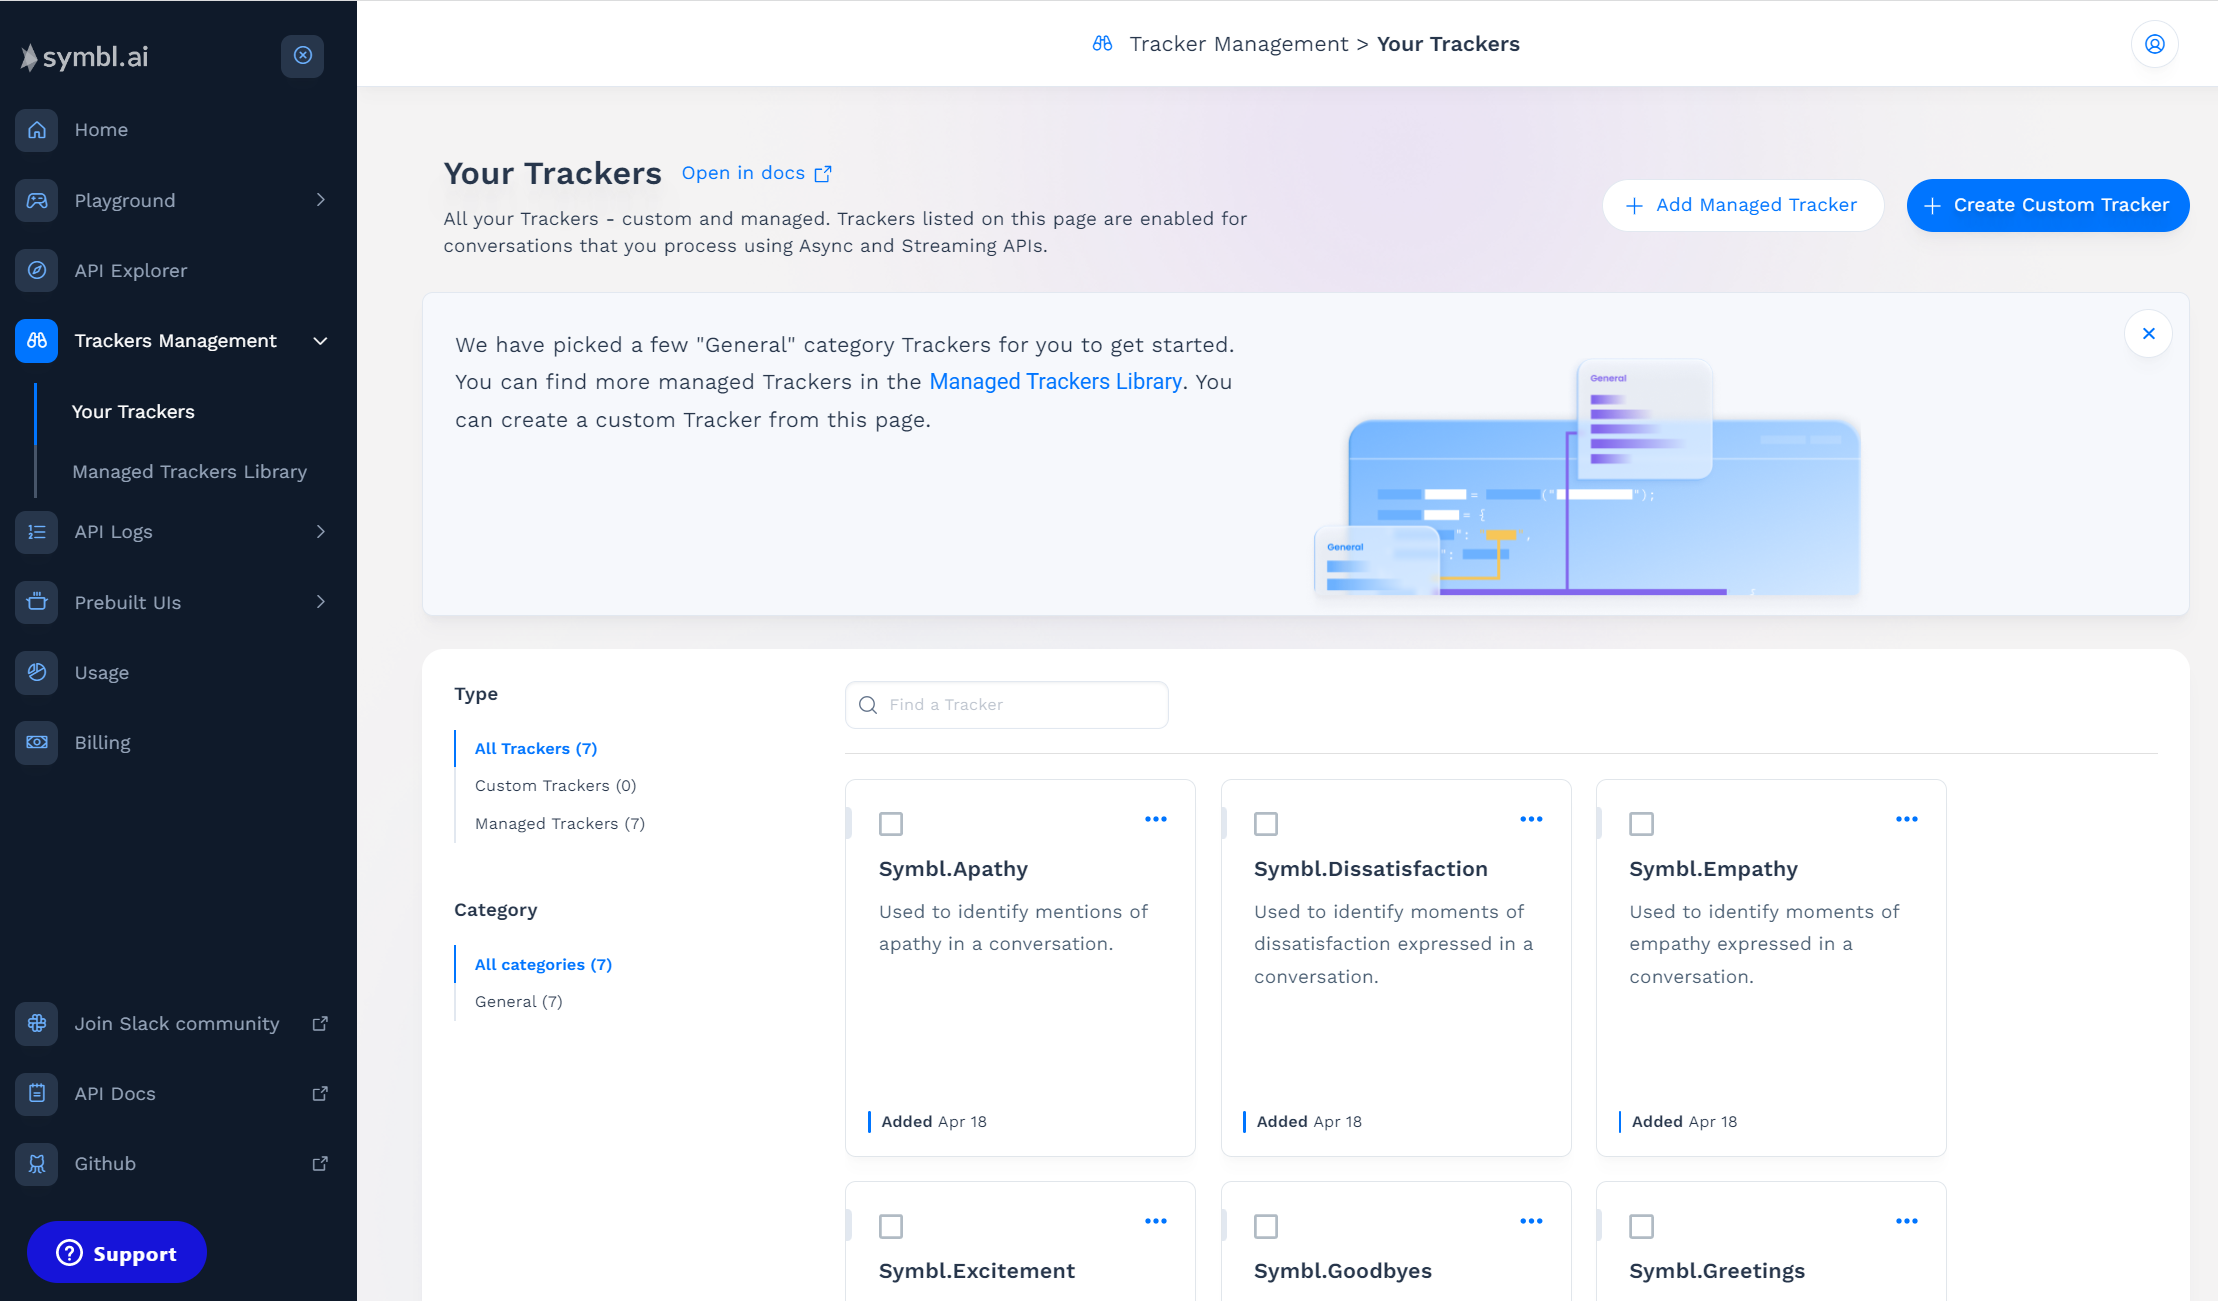
Your Trackers
Add trackers
Symbl.ai offers a number of curated trackers in the Managed Trackers Library. Adding Managed Trackers is the quickest way for you to get started with trackers.
- Click Add Managed Tracker.
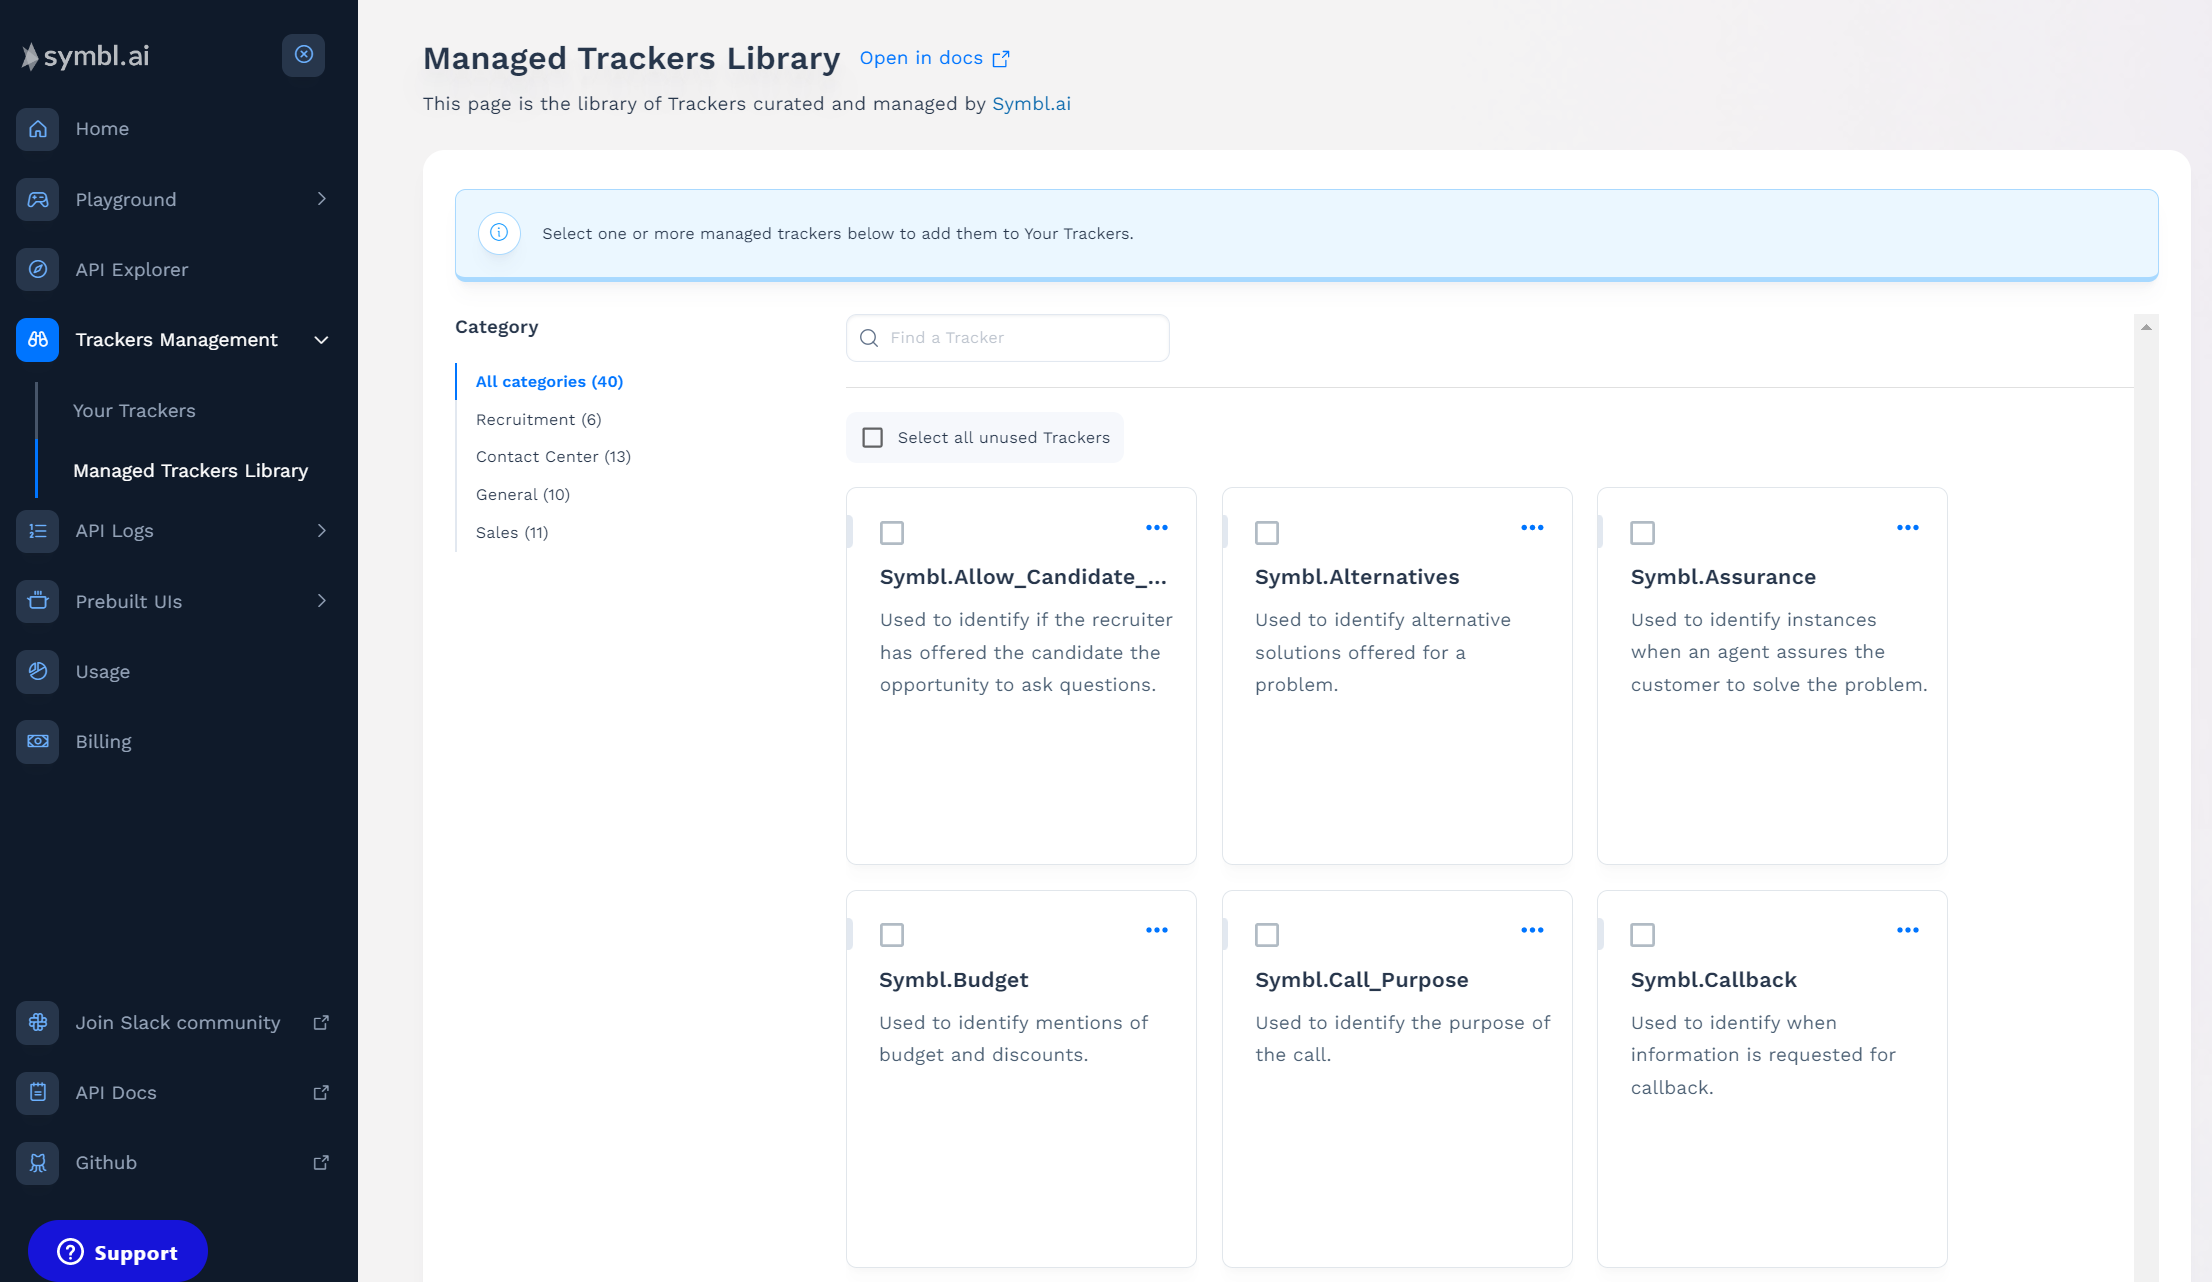
Managed Trackers Library
- Click a checkbox to select that tracker. In this example, we selected 6 Managed Trackers.
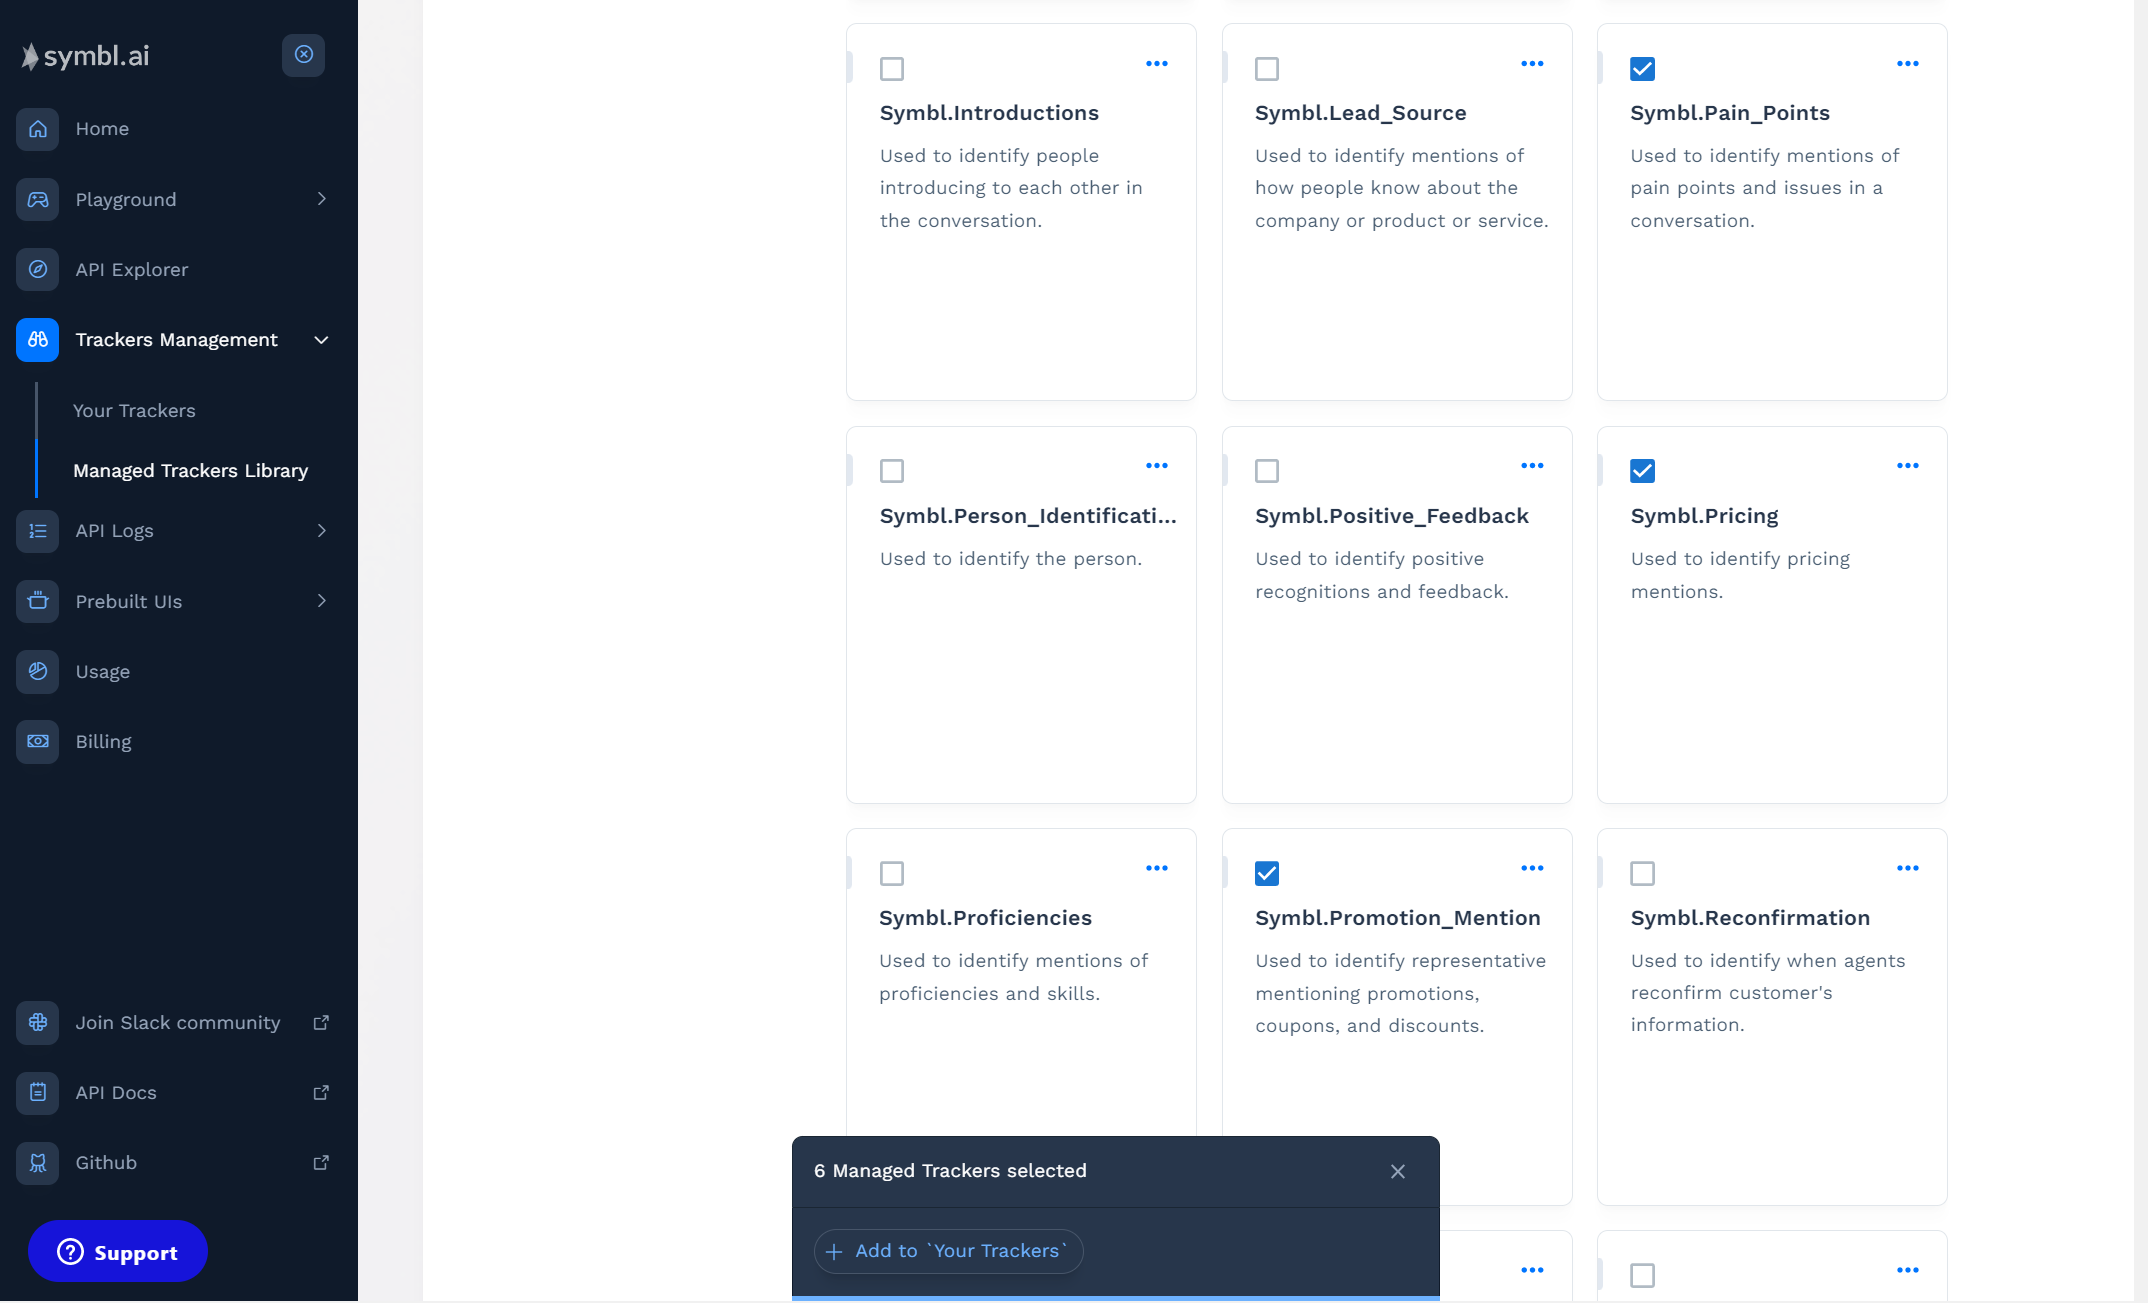
Add to Your Trackers
-
In the pop-up dialog box, click + Add to Your Trackers.
The selected trackers are added to Your Trackers.
-
In the left navigation menu, click Your Trackers.
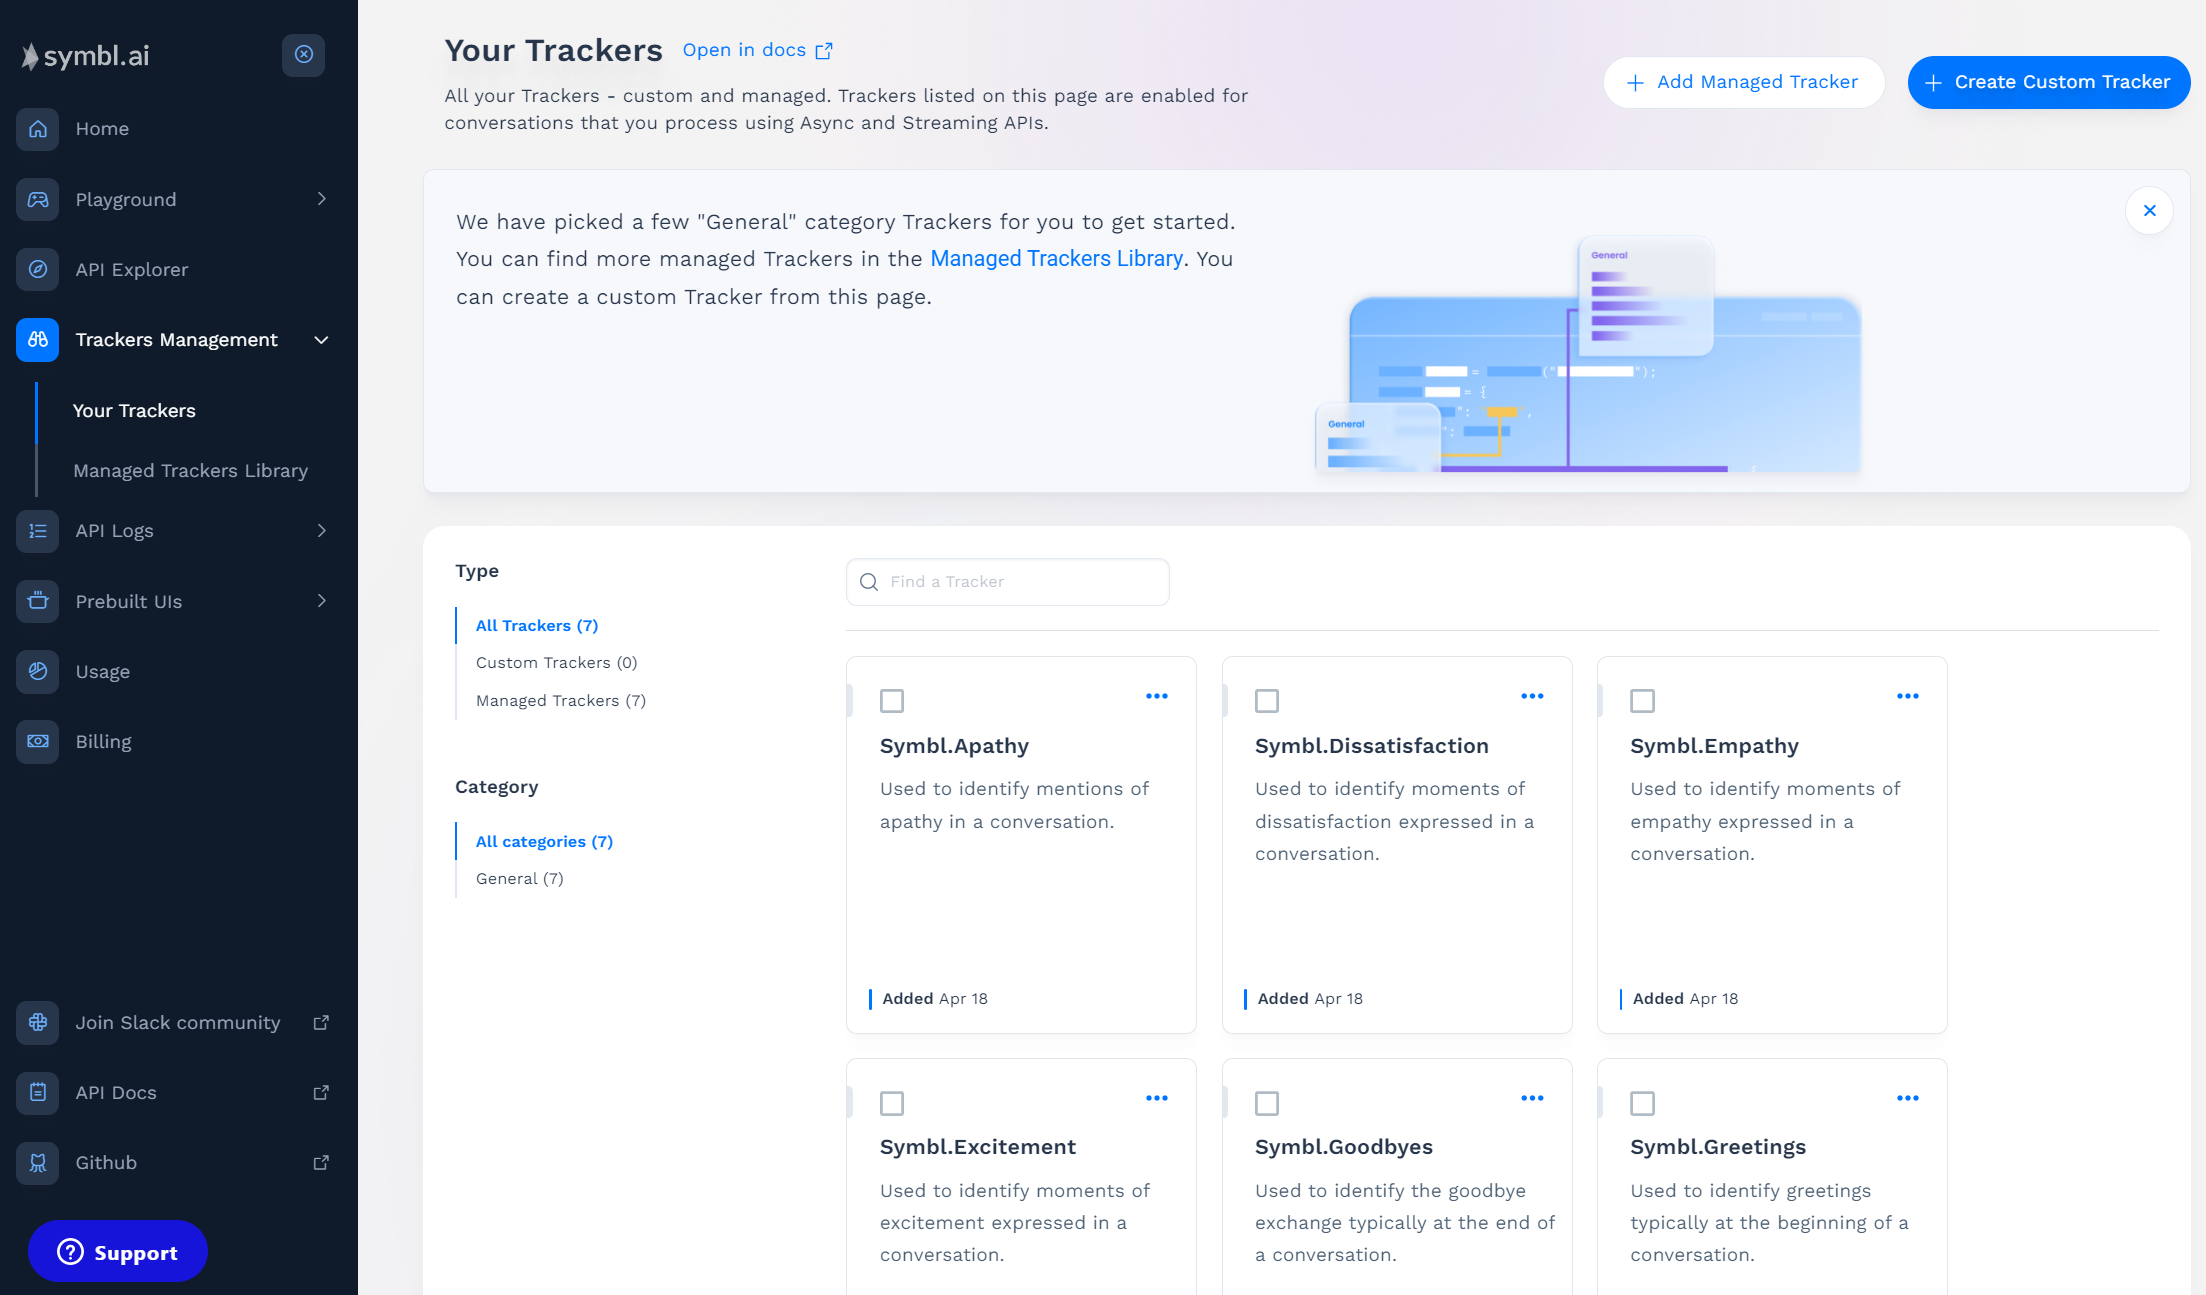
Your Trackers
-
The Managed Trackers you selected are now in Your Trackers.
-
If you want to add phrases to a Managed Tracker, click the checkbox for that tracker.

Tracker Selected
- In the pop-up dialog box, click Edit Tracker. The tracker opens in the Customize panel, showing the Description, Categories, and Languages. You can add Vocabulary terms in the Enter a phrase or keyword text boxes.
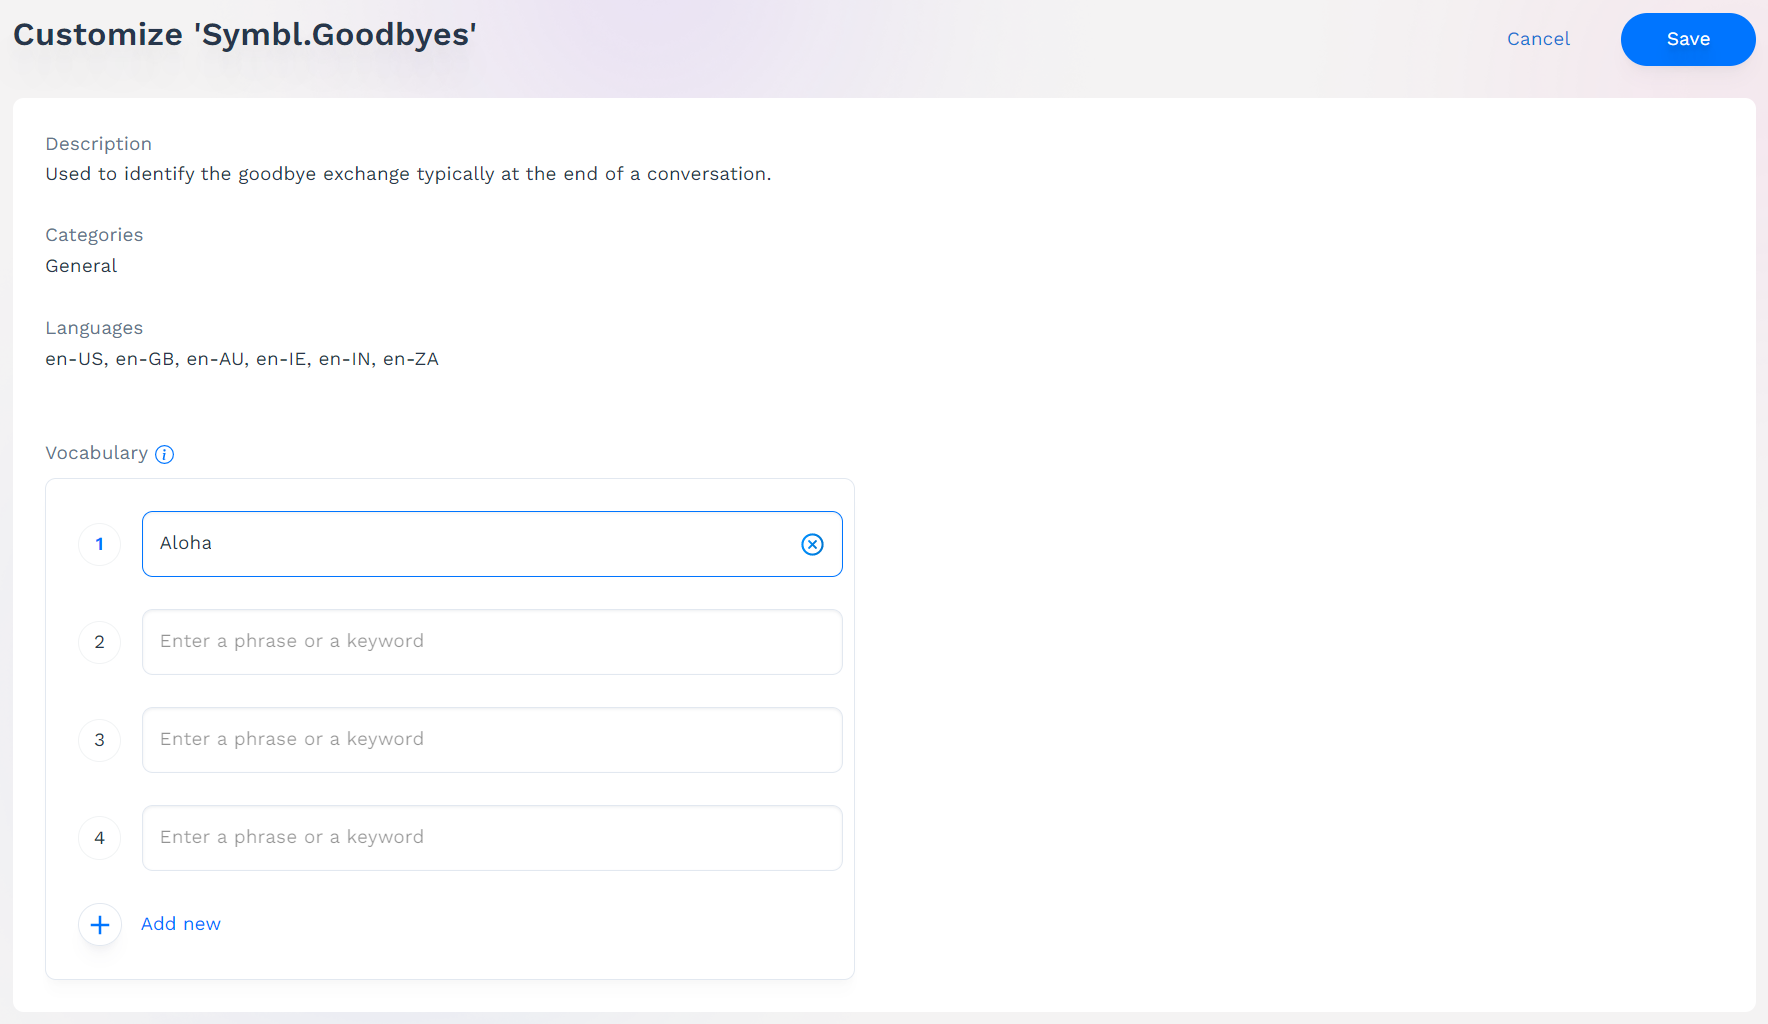
Customize Tracker
-
When you are done adding Vocabulary, click Save.
-
If you need a Tracker that is not offered in Managed Trackers, you can add your own. Click Create Custom Tracker and follow the instructions in Custom Trackers.
Open trackers in API Explorer
Now that you have added Trackers, you can see them in action using API Explorer.
-
In the left navigation menu, click API Explorer.
-
In the API Explorer, click Trackers.
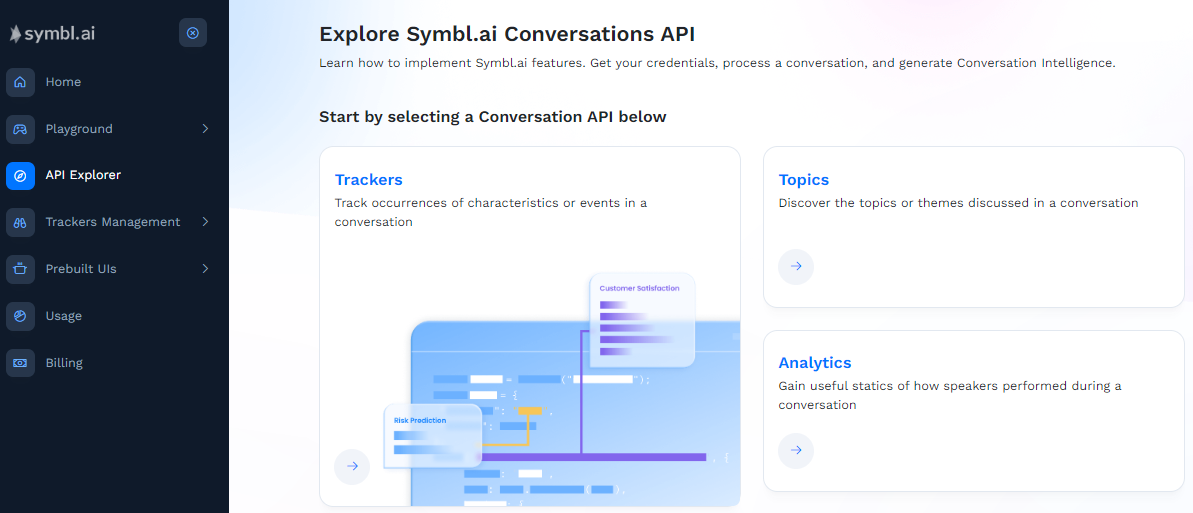
API Explorer
Step 1. View trackers
On the View Trackers page, you can see which trackers you have in use before proceeding.
The View Trackers page includes trackers currently in your list. You can continue with your current trackers, or add more. If you want to see which other trackers are available, go to Trackers Management > Managed Trackers.
If you don't see any Managed Trackers that meet your needs, or would just like to try creating your own, you can create a custom tracker. To create new trackers, go to Trackers Management > Your Trackers and click Create Custom Tracker.
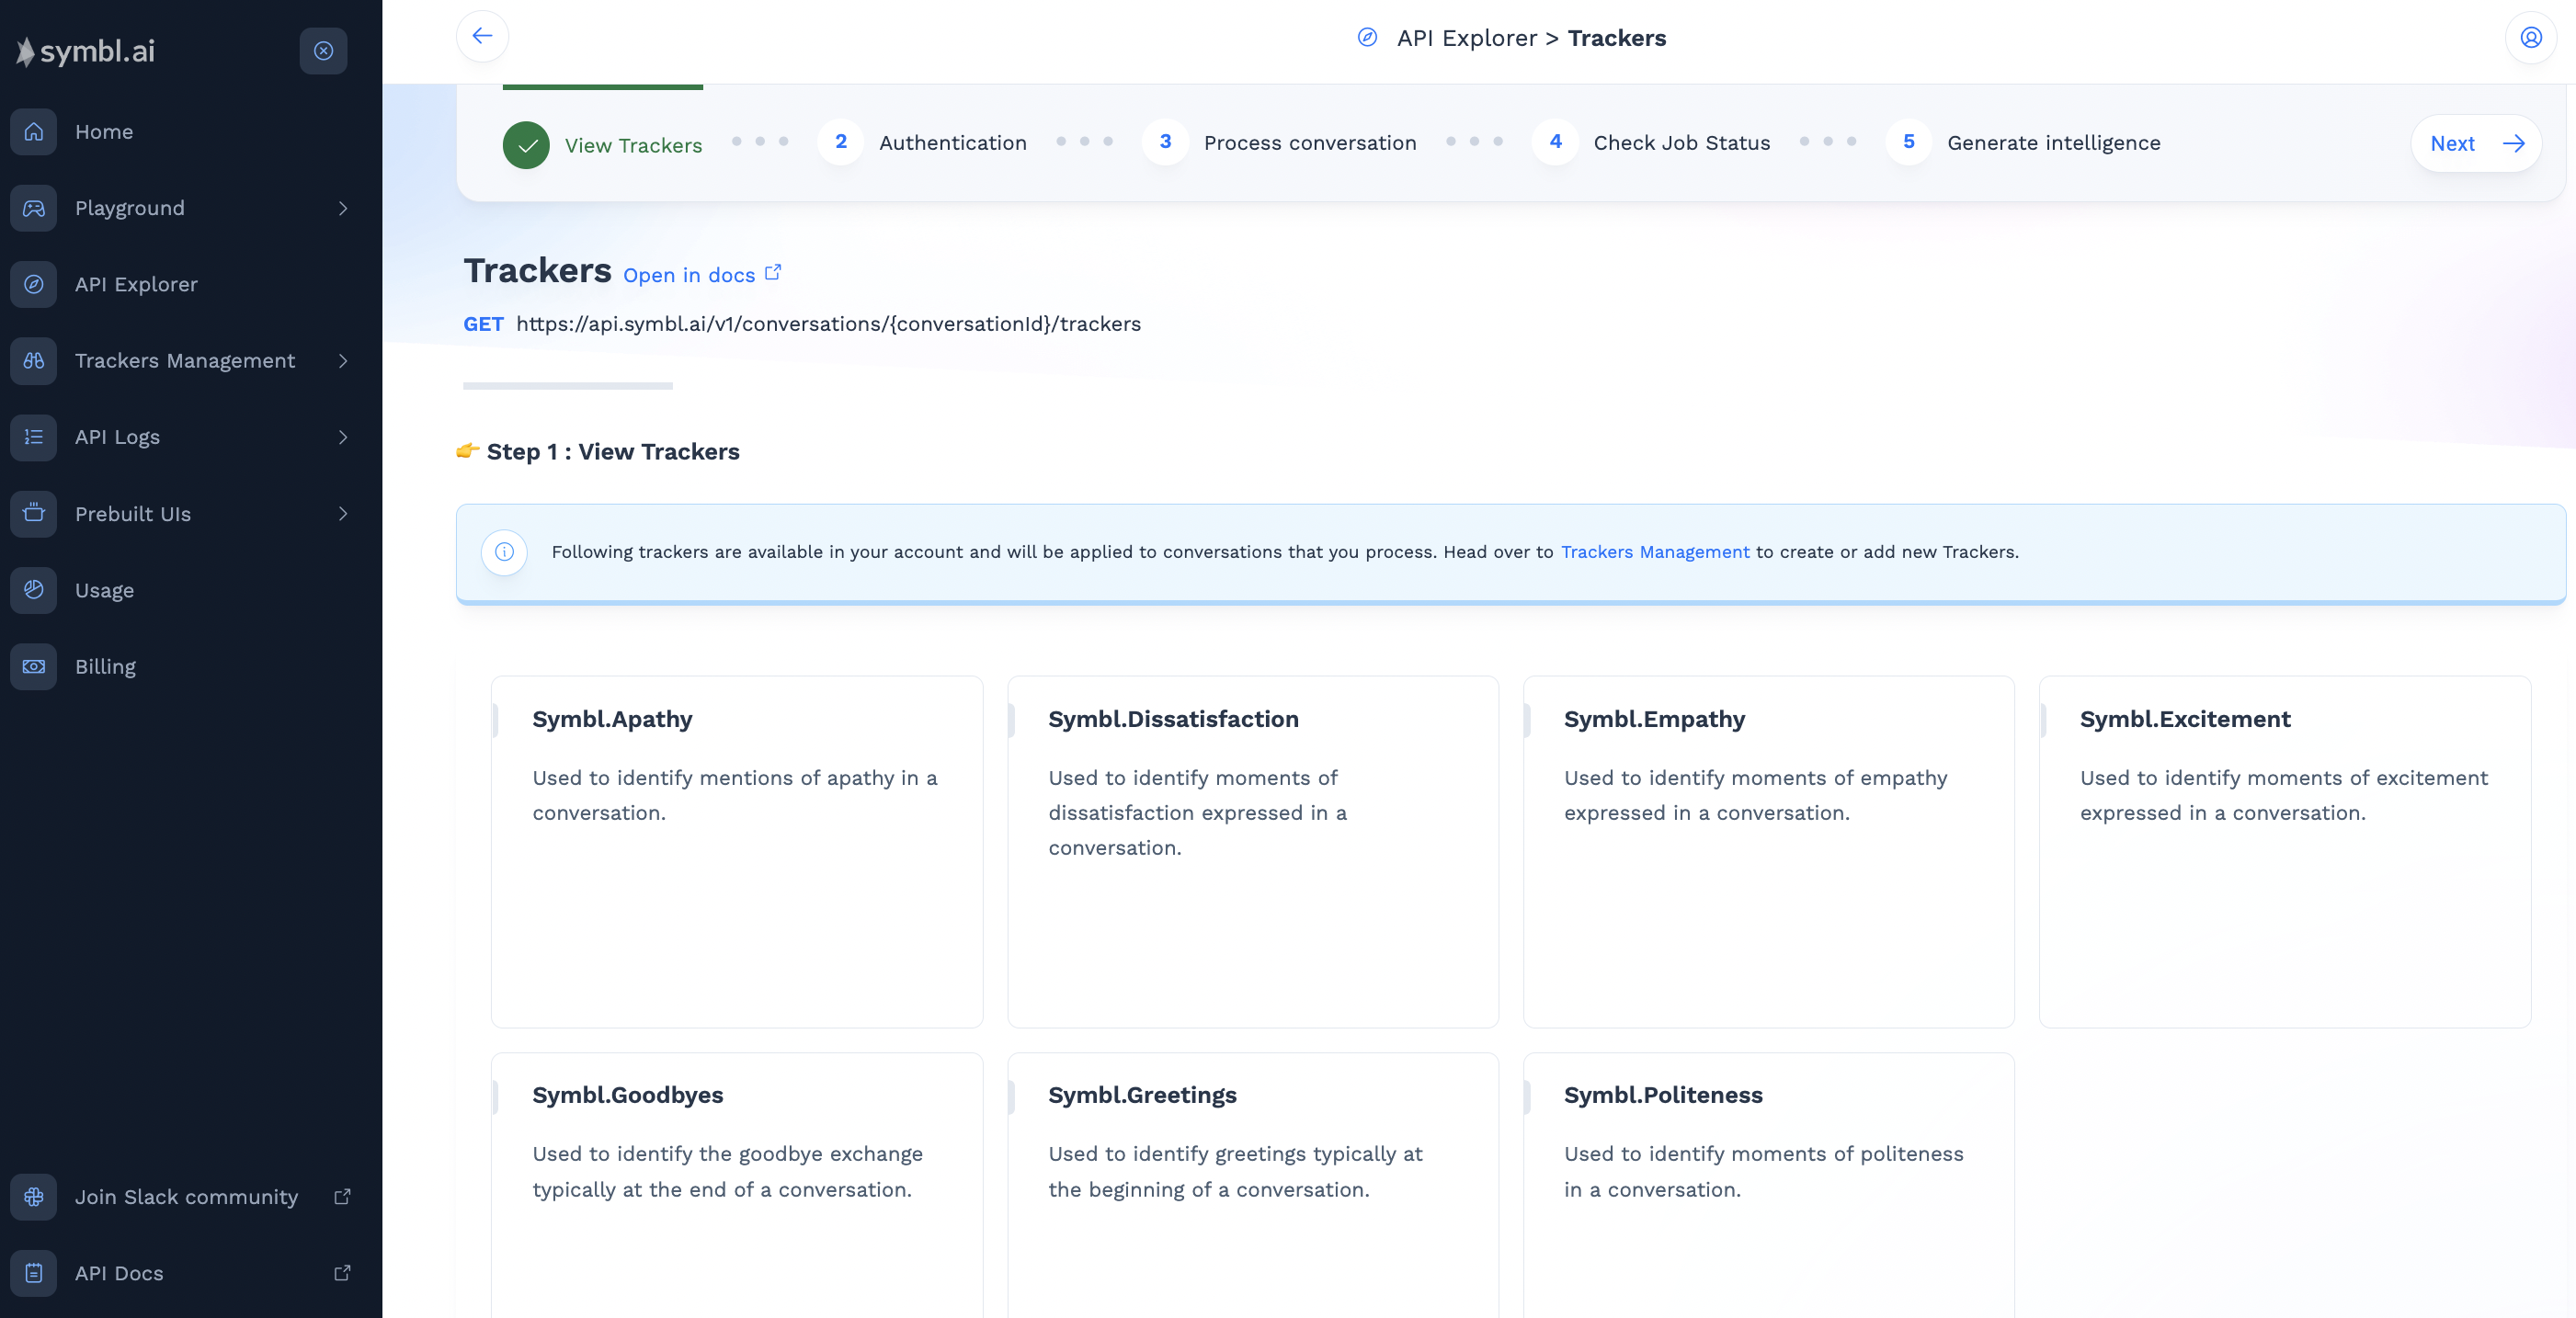
View Trackers
- Click Next to open the Authentication page.
Step 2. Authentication
On the Authentication page, you get an access token using your App ID and App Secret. As you navigate through API Explorer, the App ID and App Secret values are pre-populated because you are already signed in to the platform.
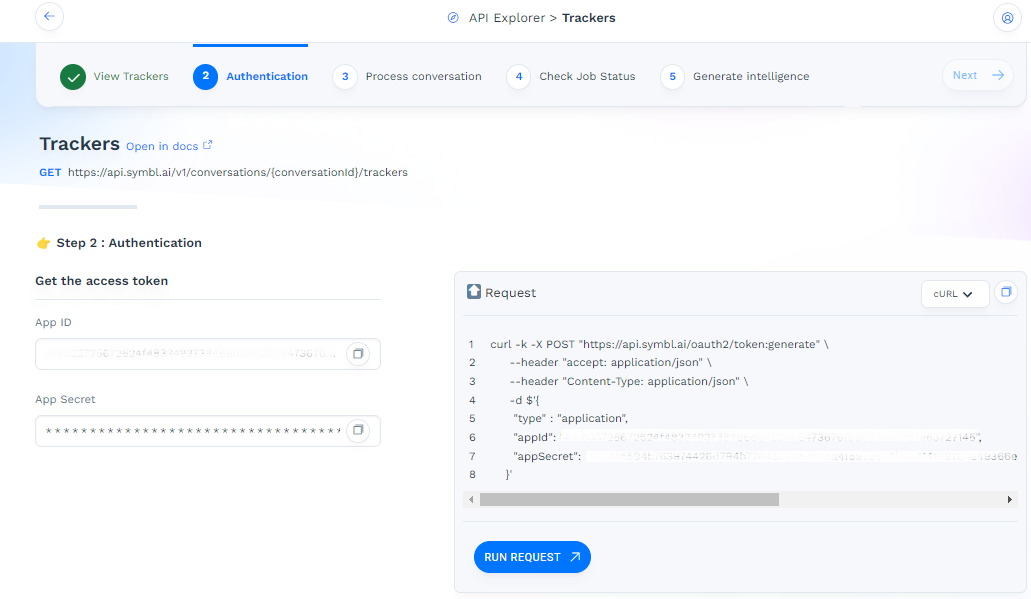
Authentication
-
Click Run Request to generate your access token.
-
Scroll down to see the success message and Response.
You don't need to copy your access token. It is pre-populated for you during the rest of this Trackers session in API Explorer.
-
Click Next to open the Process Conversation page.
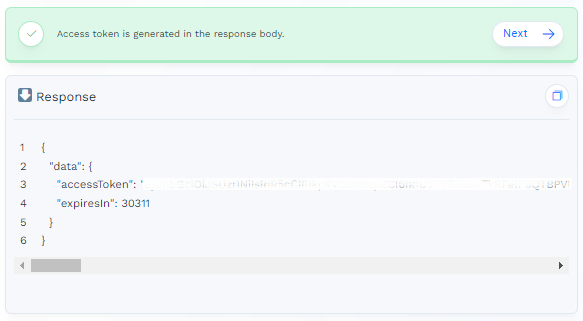
Access Token Generated
Step 3. Process conversation
On the Process Conversation page, you get a conversation ID by processing audio data or text data. If you process audio data, you can use one of the samples, upload a file, or provide a URL. If you process text data, you can choose from 2 sample conversations. The access token is populated in the request.
Note that you can also change the request code. From the drop-down list you can choose between cURL, JavaScript, NodeJS, and Python.
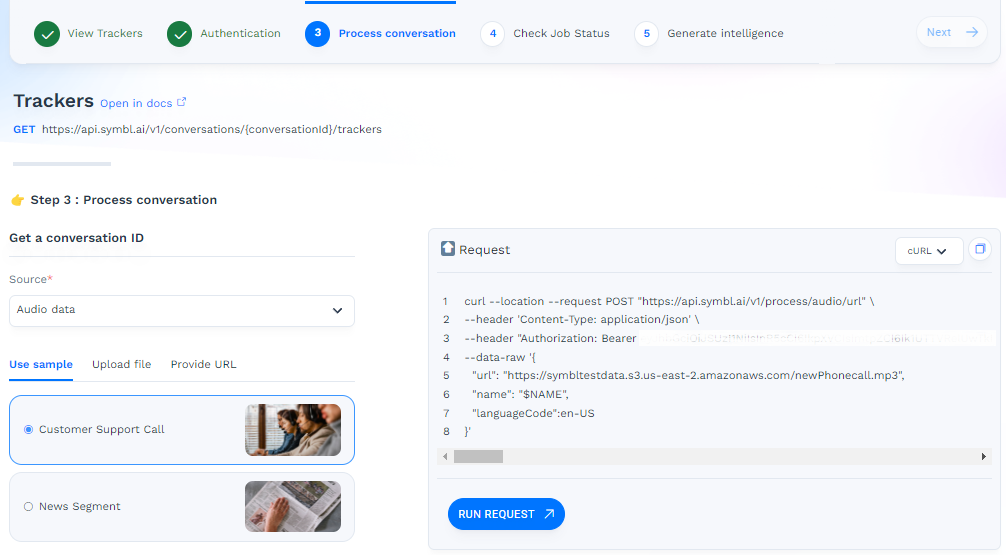
Process Conversation
-
Accept the defaults: cURL as the request code, Audio data as the Source, and Customer Support Call as the conversation.
-
Click Run Request.
-
Scroll down to see the success message and Response.
You don't need to copy the Conversation ID or Job ID. They are both populated for you during the rest of this trackers session in API Explorer.
-
Click Next to open the Check Job Status page.
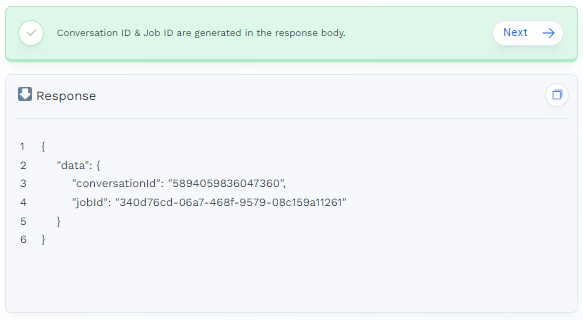
Response with Conversation ID and Job ID
Step 4. Check job status
Use the Check Job Status operation to confirm that processing is complete. This requires your access token and the job ID. These values are both populated.
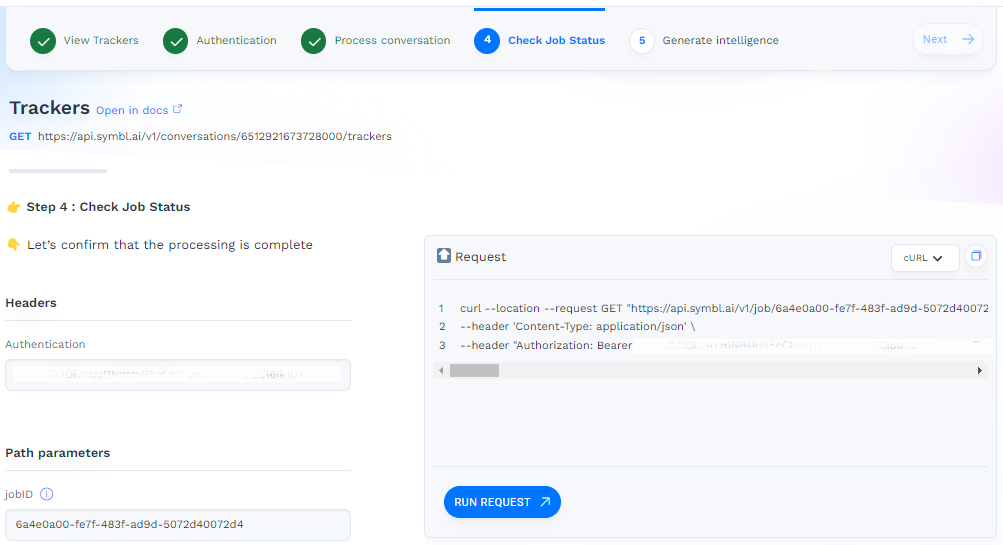
Check Job Status
-
Click Run Request.
-
Scroll down to see the success message and response.
-
Click Next to open the Generate Intelligence page.
Step 5. Generate intelligence
Use the Generate Intelligence page to detect trackers in the conversation. This requires your access token and the Conversation ID. These values are both pre-populated.
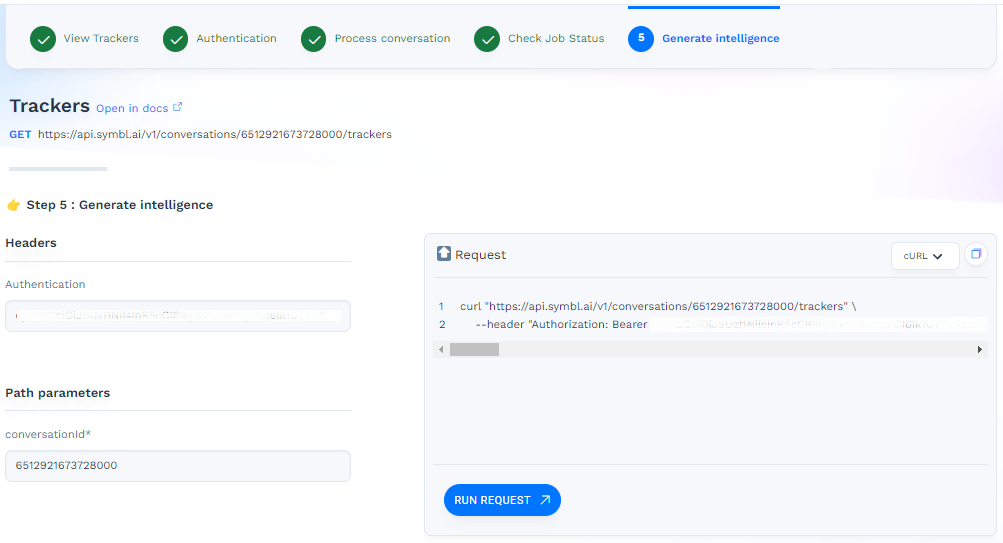
Generate Intelligence
-
Click Run Request.
-
Scroll down to see the success message and response.
If you want to keep the response, copy and save it to a file.
-
Click Done to return to the API Explorer landing page.
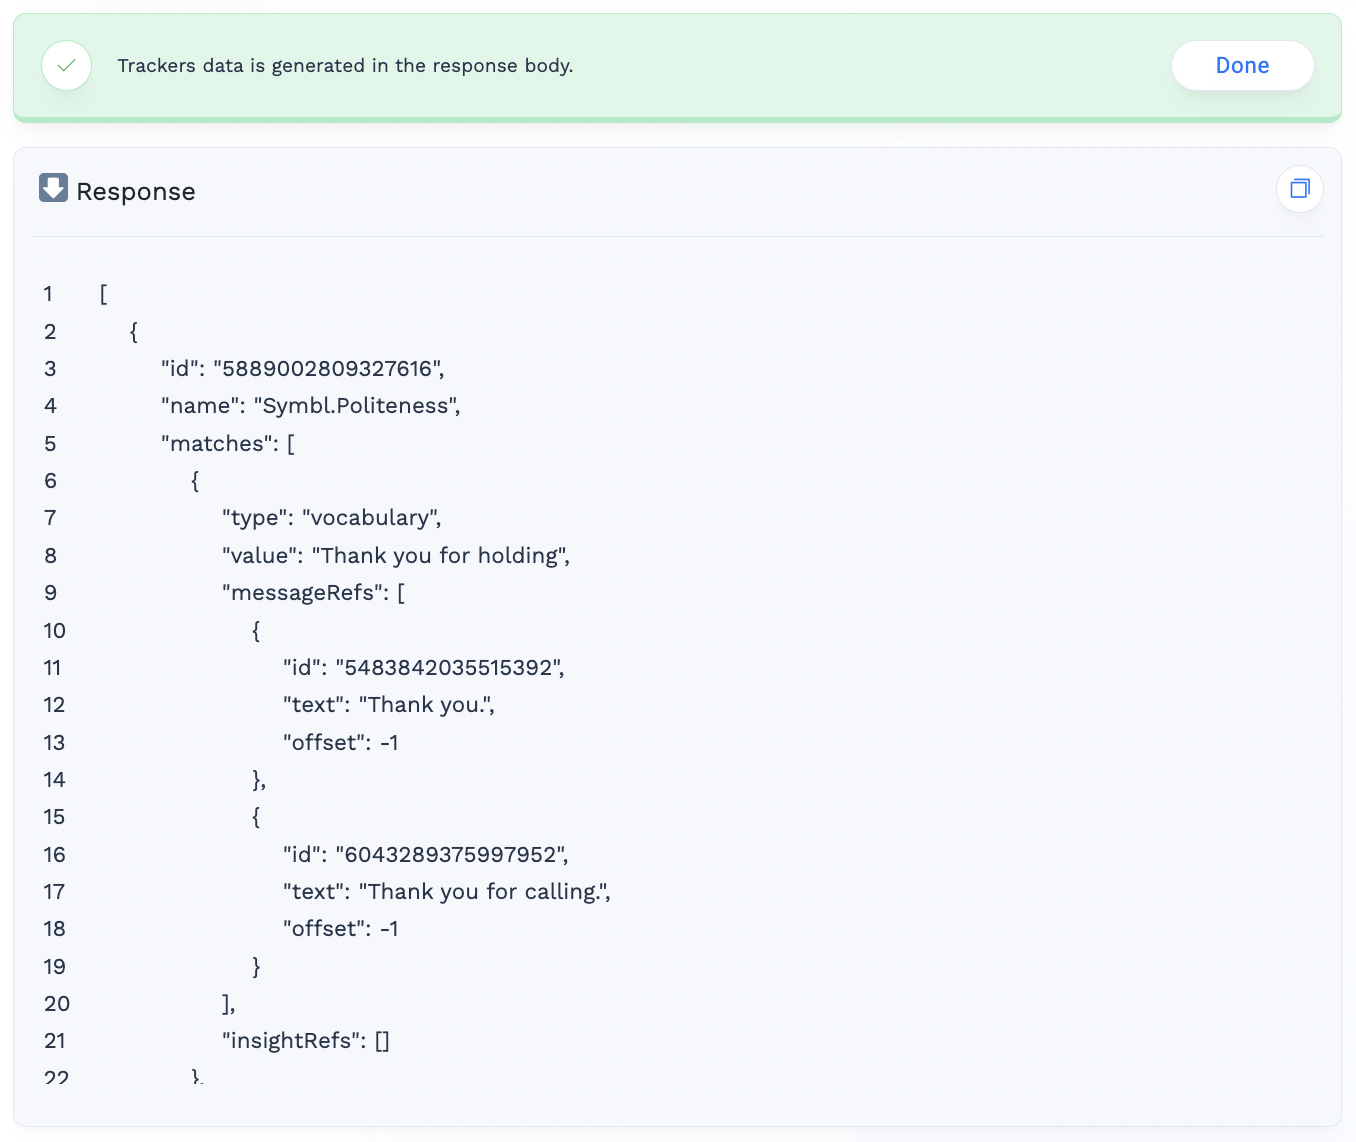
Generate Intelligence Response
The Generate Intelligence response includes the ID and name of each detected tracker and phrase, followed by the matching text, with type and offset as appropriate.
For example, the detected tracker is Symbl.Politeness with a phrase 'How may I help you' matched as an insight in the form of a question. It also matched the phrase thank you for holding. This phrase is matched to phrases Thank you and Thank you for calling because they have similar meaning.
Zero (0) or positive offset means there is an exact match with the tracker vocabulary. Negative offset (such as -1) indicates an intent-based match because there is no exact match. In this example, we can see that offset 0 means there is an exact match and the vocabulary appears at position 0.
[
    {
        "id": "5889002809327616",
        "name": "Symbl.Politeness",
        "matches": [
            {
                "type": "vocabulary",
                "value": "Thank you for holding",
                "messageRefs": [
                    {
                        "id": "5483842035515392",
                        "text": "Thank you.",
                        "offset": -1
                    },
                    {
                        "id": "6043289375997952",
                        "text": "Thank you for calling.",
                        "offset": -1
                    }
                ],
                "insightRefs": []
            },
            {
                "type": "vocabulary",
                "value": "Please",
                "messageRefs": [
                    {
                        "id": "5809084071149568",
                        "text": "Okay.",
                        "offset": -1
                    }
                ],
                "insightRefs": []
            }
        ]
    }
]
Next steps
Read more about trackers in Managed Trackers Library, Custom Trackers, and Recommended Trackers.
On platform.symbl.ai you can choose more trackers from Trackers Management > Managed Trackers Library or add your own trackers at Trackers Management > Your Trackers > Add Custom Tracker.
Updated about 2 years ago
